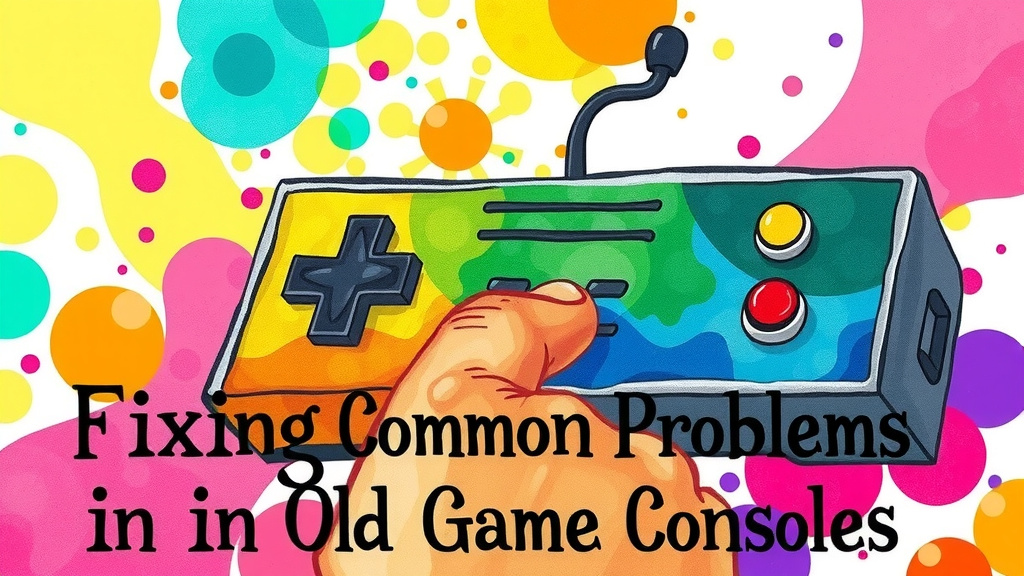
How to Repair Common Issues in Old Game Consoles A Nostalgic Journey Back to 8-Bit Glory
There’s something magical about old game consoles that goes far beyond pixels and hardware. Maybe it’s the warm glow of a CRT screen casting shadows on the walls, or the feel of a rugged, well-worn cartridge sliding into place with a reassuring *click*. For many of us, those evenings spent in front of our vintage consoles weren’t just about gaming — they were moments stitched into the fabric of our youth. But let’s be honest, those consoles were far from perfect. From cartridges that refused to read to controllers that froze mid-boss fight, old-school gaming came bundled with quirks and headaches that tested our patience as much as our skills.
This is more than a technical guide. It’s a walk down memory lane for those who cherish those glitchy moments as much as the triumphs and an invitation to roll up your sleeves and bring those pixelated friends back to life. Let’s dive into some of the most common issues you might face with vintage consoles and how to repair them while reliving the nostalgia of those early gaming days.
When the Cartridge Won’t Read Blowing in the Magic Dust
Raise your hand if you ever found yourself blowing into a game cartridge as if your breath alone could awaken the slumbering 8-bit world inside. That ritual has become the stuff of legend, a blend of hope, superstition, and desperation all rolled into one puff. While blowing on cartridges might not actually fix anything, it’s a surprisingly enduring symbol of the love and frustration involved with retro gaming.
The true culprit behind unread cartridges is usually corrosion or dust buildup on those delicate metal contacts. Over decades of storage, oxidation forms a thin layer that blocks the essential electrical connection between the cartridge and the console. What you want is a safe cleaning process that doesn’t damage those precious pins. Using isopropyl alcohol with a cotton swab is a classic recommendation. Gently swab the contacts until they shine and give everything a moment to dry before testing again.
I still remember that nail-biting moment as a kid when after several tries and careful cleaning, the screen’s flickering lines steadied and the title screen burst to life. It might sound simple, but there’s an unexplainable joy in that fragile reconnection — it’s like old friends finally greeting you back after a long silence.
Fading Colors and Flickering Screens Love Letters to Our CRT Companions
Remember how nothing could quite replicate the fuzzy, warm glow of a CRT TV? These bulky sets were the original window to our pixel worlds, and their idiosyncrasies became an inseparable part of the experience. The gentle flicker, the scan lines, the slight hum in the background — all these quirks turned gameplay into a sensory ritual.
But with age, those TVs (and the signal cables that connected our consoles) start to lose their charm in less flattering ways. Fuzzy images, rolling screens, or a ghostly double image would creep in and test our troubleshooting patience. Usually, a bit of coax cable tightening, gently wiggling connectors, or swapping to a different input port would restore the picture. Sometimes it felt like magic, other times like a small miracle.
Part of the charm, though, has always been that imperfect image. Even as modern displays boast razor-sharp clarity, many retro enthusiasts crave that CRT vibe because it feels, well, more alive. It’s a comforting reminder of the analog world we first explored with pixelated heroes, where every screen flicker was a heartbeat.
Sticky Buttons and Dead Controllers The Minecraft of Retro Repairs
Few things are as soul-crushing as getting “button stuck” mid-game, especially when the boss fight is hanging by a thread. Back in the day, controller issues were practically a rite of passage. Whether it was sticky buttons from spilled snacks or worn-out cables that suddenly lost connection, the frustration was real.
The good news is that most classic controllers were designed to be opened with just a screwdriver and a little courage. Removing the shell reveals a tiny ecosystem of rubber membranes, conductive pads, and wiring — all of which can accumulate dust, grime, or lose conductivity over time. Cleaning the rubber pads with isopropyl alcohol or gently replacing them can bring back crisp, responsive clicks. If wires inside have broken, soldering or carefully swapping cables brings controllers back from the brink.
One of my fondest memories is the camaraderie among friends swapping parts, hunting down rare controllers at arcades, or scouring flea markets for replacements. It wasn’t just about fixing hardware — it was about sharing pieces of our gaming history and patching together stories just as much as circuits.
Power Ups Dealing with Console Boot-Up Glitches
There’s a distinctive nerve-wracking silence when you power up an old console and wait for that familiar beep or menu screen. When it doesn’t show up, panic sets in. The causes, while numerous, often boil down to a few usual suspects.
Loose power cords are the simplest culprit — sometimes a stubborn, aging connection just needs unplugging, inspecting, and plugging back in firmly. But if that doesn’t work, aging capacitors inside the console might be starving the system of steady power. These cylindrical components degrade with time, causing erratic functionality. And occasionally, dirty internal contacts or ribbon cables inside need gentle cleaning or reseating.
Opening up your vintage console can look intimidating, but armed with screwdrivers, static-safe mats, and some online schematics, it’s a rewarding peek inside the heart of your console’s soul. Replacing common parts or reflowing solder joints can push a seemingly dead system back into action, reconnecting you with your 8-bit roots.
The Joy of DIY Fixes Why Repairing Ties Us Closer to That Pixelated Past
There’s a unique thrill in repairing a console with your own hands. It’s not just an achievement in technical skill — it’s a deeply personal reconnection with those simpler days when blowing on a cartridge or adjusting the antenna was an adventure in itself. Fixing these pieces of tech is like breathing life back into a cherished, pixelated friend.
Every repair becomes a story, every solder joint a connection to the past, and every gaming session a fresh memory layered on top of old ones. This culture of DIY repair is kept alive by vibrant communities on forums, YouTube channels, and enthusiast groups dedicated to preserving and celebrating retro gaming. Sharing tips, trade secrets, and troubleshooting advice feels a bit like a big extended family reunion, where everyone understands those frustrations and joys in equal measure.
These repairs are not just about making a game playable again. They’re about preserving a way of life that thrived within chunky consoles, blinking power lights, and cartridges clattering into place. They remind us how patient curiosity and hands-on love once shaped our earliest experiences with technology and play.
Pixels and Patience How Early Repairs Still Shape Us Today
Looking back, those moments spent coaxing a stubborn console back to life were more than just technical challenges. They taught us patience when progress was slow, persistence when frustration rose, and a curiosity that made us tinker rather than give up. In many ways, those early repair experiences laid the foundation for lifelong interests in collecting, modding, or simply appreciating the history of gaming tech.
There’s a kind of magic in the tactile, imperfect world of old consoles. It humbles us, connects us, and reminds us why we fell in love with gaming to begin with. So here’s to the endless cartridges, blinking power lights, and those precious moments when, with a little elbow grease and a lot of love, our consoles roared back to life.
Retro gaming isn’t just a hobby, it’s a journey — one lovingly repaired pixel at a time.